Folding a paper boat
Text last updated:
2024-05-29
Ship ahoy! Paper folding art made easy!
In summer, it sails down the stream, in fall it takes a spin in the puddle and in winter it rocks in the bathtub: with a paper boat and a little imagination, you can create any number of things. Folding it is not difficult at all. All you need is a simple sheet of paper and you're ready to go.
Image
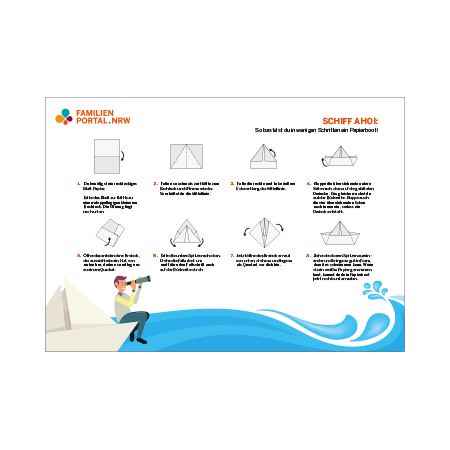
These instructions show you how to fold a paper boat in simple steps
What you need:
- A piece of paper
- Colored crayons to draw with
How it works:
- Fold the paper in half once. The opening should be facing down.
- Fold it in half again to form a rectangle and open it out again. This gives you the center line.
- Now fold the right and left outer corners along the center line.
- Fold the protruding bottom side up onto the folded triangles. Do the same on the back.
- Fold the right and left overhanging corners inwards to create a large triangle.
- Fold the four protruding corners inwards to create a triangle.
- Now open the triangle, which looks like a hat, from the bottom, turn it and fold it into a square.
- Fold the bottom tip upwards. Turn the folded work over and carry out the folding step on the reverse side too.
- Now open the triangle again from the bottom, turn it and place it in front of you as a square.
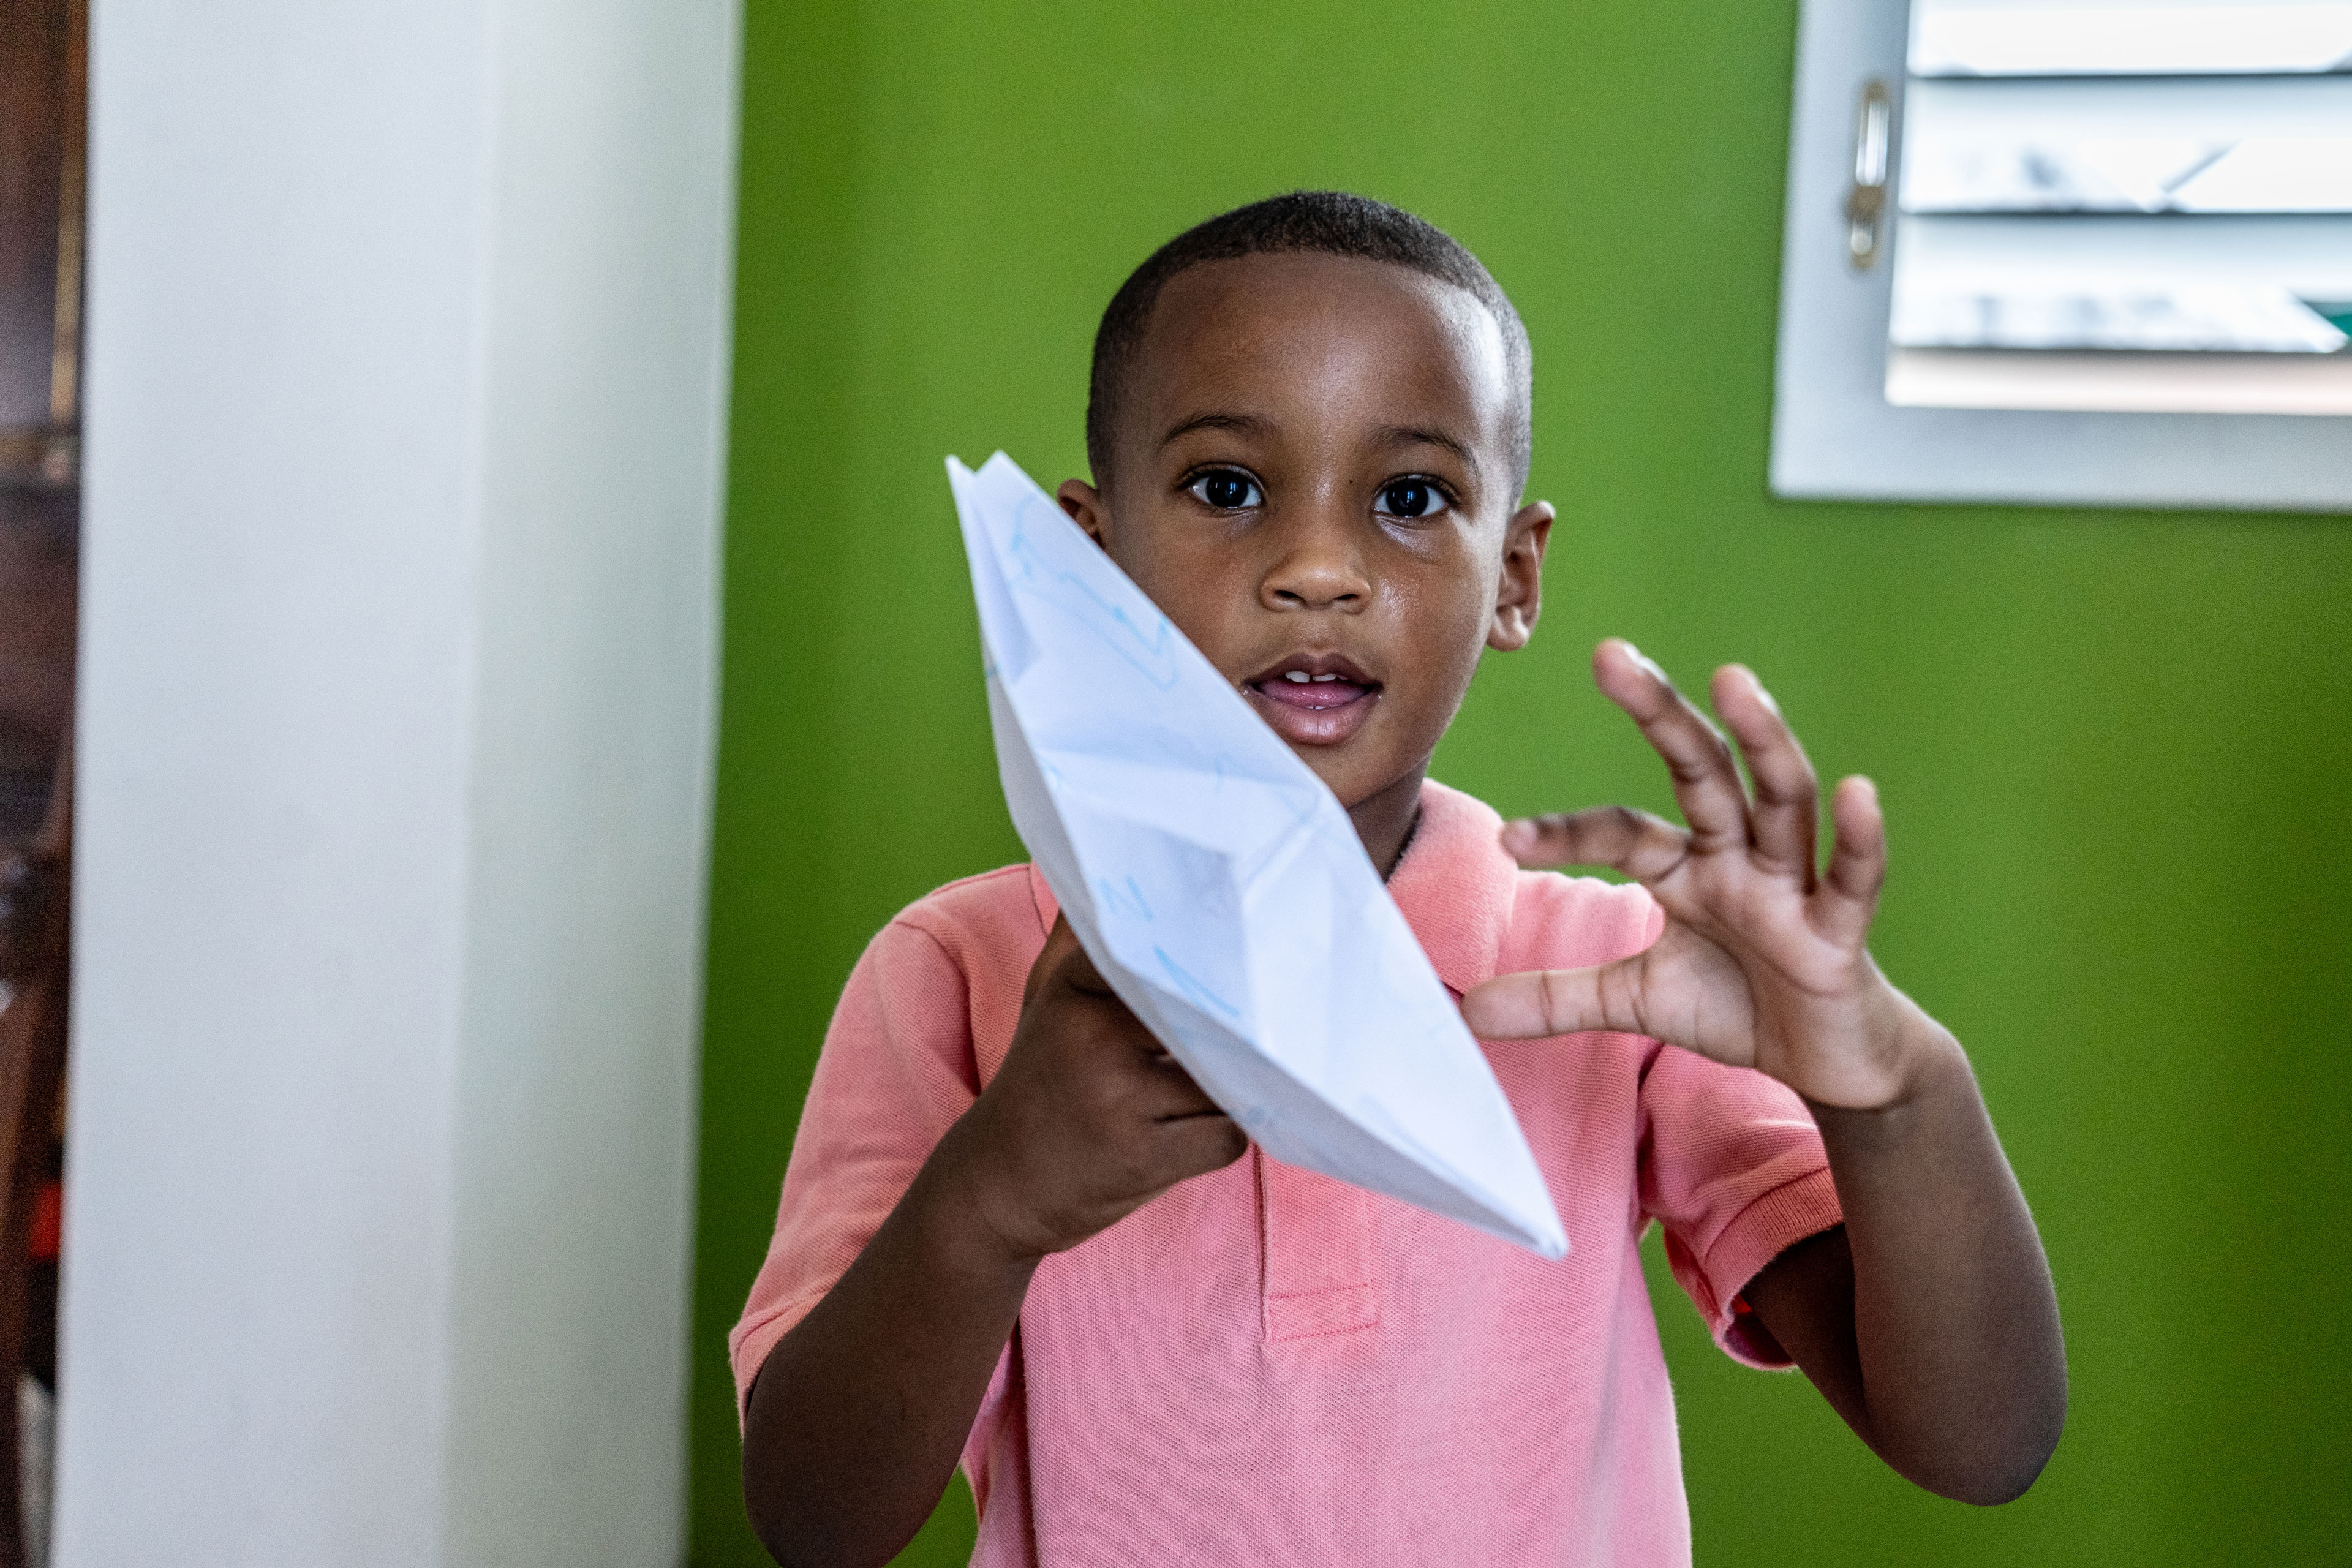
- Pull the upper tips apart carefully and shape it well. Your paper boat is now ready to float on the water!
- Beforehand, you can paint the boat with waterproof pens and paints.
Are you ready? Then you can send your folding boat on its journey!
Tips Download
Image